Using rich communication services (RCS) messaging function
Rich communication services (RCS) improve communication with dynamic features and interactivity. It empowers users with advanced capabilities, streamlines interactions, and transforms conversational engagement. You can use RCS to send messages with features like high-quality media, read receipts, and typing indicators.
Setting up an RCS agent
To set up an RCS agent, reach out to your customer success representative for assistance.
Sending an RCS message
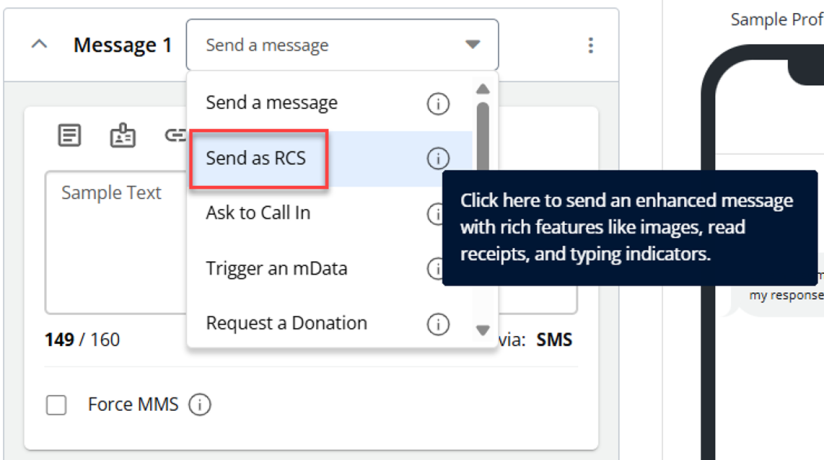
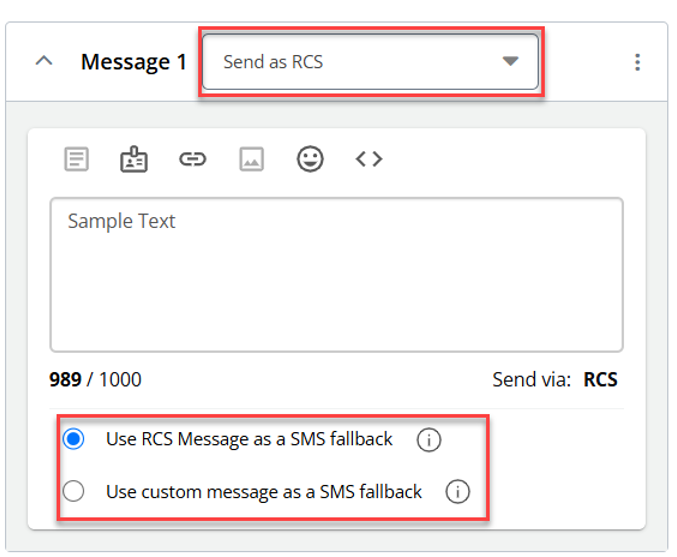
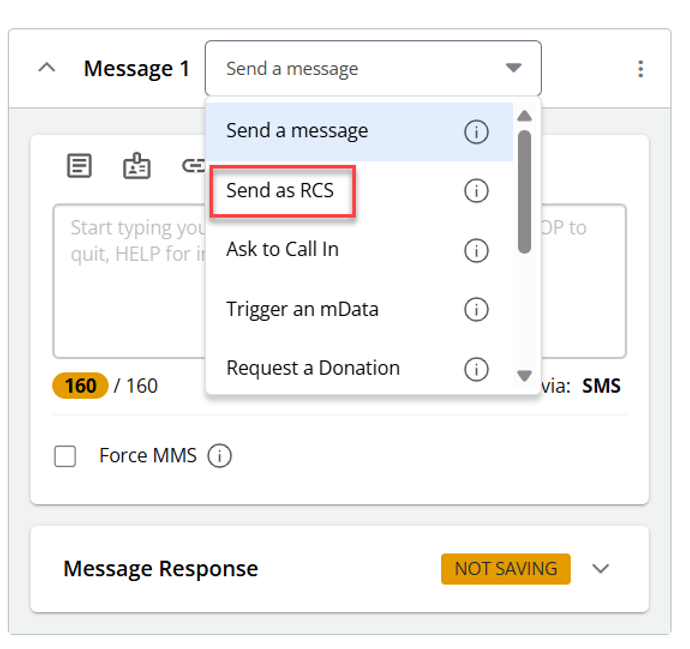
To send a message via RCS, go to Text Messaging> Broadcasts. Click on + New Broadcast. In the “Conversation” stepper, select Send as RCS from the “Message” dropdown.
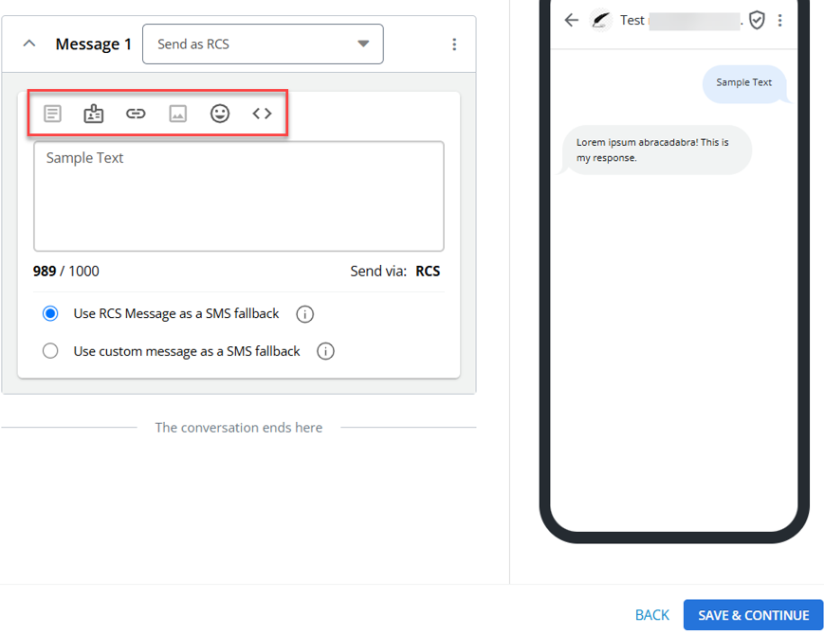
The RCS messaging feature includes four key options: dynamic fields, insert links, insert liquid, and insert emojis.
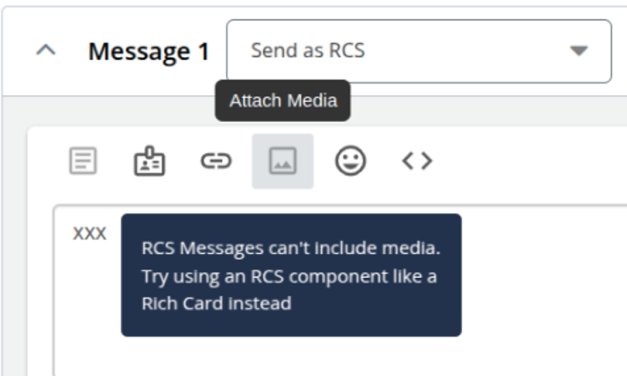
Note: The Attach Media option is disabled for RCS messages. When you hover over the disabled Attach Media option, the tooltip displays the message: RCS messages can’t include media. Try using an RCS component like a Rich Card instead.
When the “Send as RCS” option is selected, the character limit automatically sets to 1000 characters. The message box displays "Send via RCS" in the lower right corner. The character count updates in real-time, with the following visual indicators:
-
At 160 characters, the count turns orange, accompanied by a tooltip “Additional fees apply for character counts exceeding 160”.

-
For unsupported or unknown characters, the count displays "unknown" in orange, along with a tooltip “Character count for RCS messages with liquid tester content cannot be determined, potentially affecting pricing. Additionally, messages exceeding 1000 characters trigger your selected fallback option”.

-
When the character limit exceeds 1000 characters, the excess characters are highlighted in red.

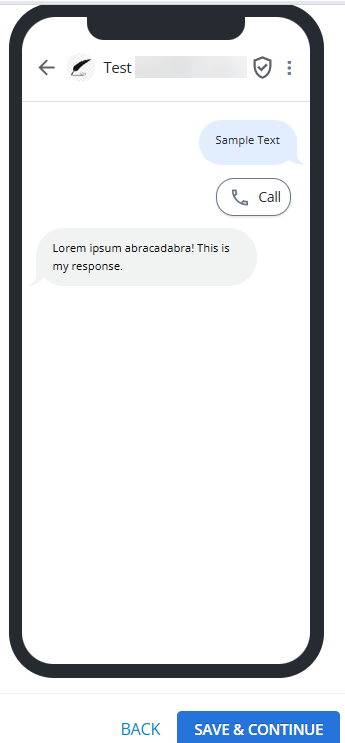
You can see an accurate representation of the message in the message preview, reflecting the RCS Agent, including its name, branding, logo, and any real-time updates to the message content such as text, images, or buttons.
Managing SMS fallback for RCS message delivery
As a user sending messages via RCS, you can configure SMS fallback options to ensure message delivery in case RCS delivery fails. This feature allows you to maintain reliable communication with recipients by automatically switching to SMS when RCS is unavailable.
To access the RCS messaging option, go to Text Messaging > Broadcasts. Click + New Broadcast. In the Conversation stepper, select Send as RCS from the Message dropdown.
The following radio buttons appear:
-
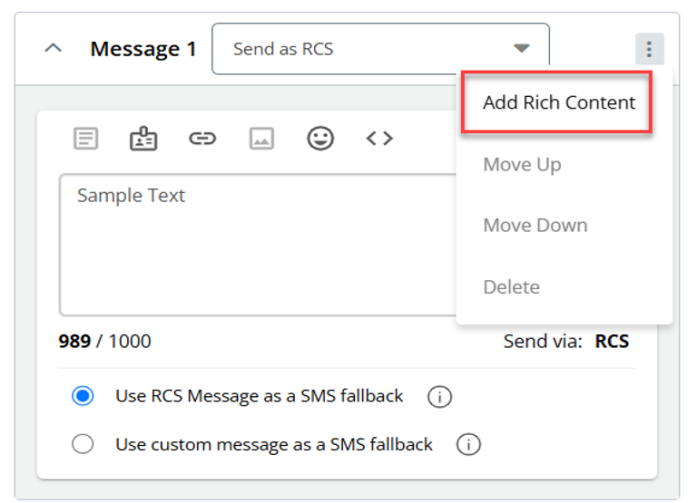
Use RCS Message as a SMS fallback: This option ensures that messages are still delivered via SMS if RCS fails.
The available  tooltip displays the following message: If RCS delivery fails, it will automatically default to sending the RCS message body as an SMS.
-
Use custom message as a SMS fallback: This option allows you to configure a custom SMS message for instances where RCS delivery fails, ensuring that the message is transmitted successfully via SMS.
The available tooltip displays the following message: Configure a custom SMS message for failed RCS deliveries, overriding the message to ensure successful SMS transmission.
The character count displays for the custom SMS fallback text, starting at 1000 characters. The character count updates in real-time as you type or modify the message and reflects the number of remaining characters based on the maximum allowed message length.
Adding Suggested Actions to an RCS Message
You can add interactive elements to your RCS messages—such as Dial Phone, Location, Open URL, and Calendar Event. These actions make broadcasts more dynamic and engaging, enabling recipients to take immediate, meaningful action directly from the message.
Follow these steps to include interactive suggested actions in your RCS message:
-
Go to Text Messaging.
-
Select Broadcasts.

-
Click + NEW BROADCAST to create a new broadcast message.

-
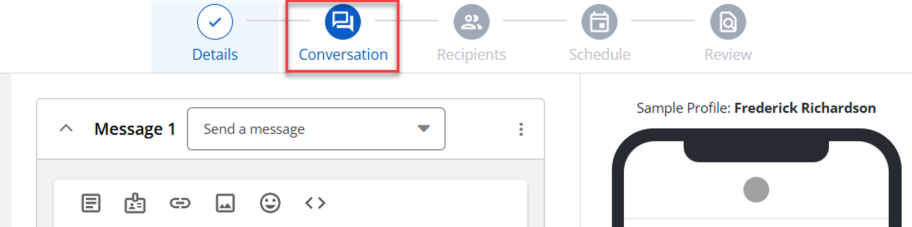
Proceed to the “Conversation” stepper.
-
Select the Send as RCS message option.
-
Within the message container, click on the kebab menu (three vertical dots).

-
Select Add Rich Content from the kebab menu.
This opens the Rich Content modal.
-
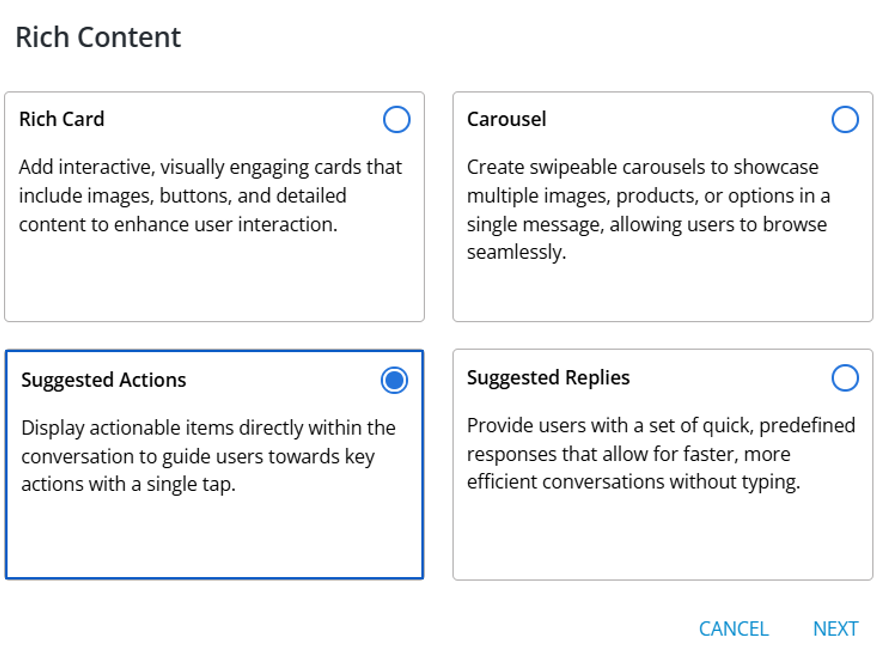
In the Rich Content modal, select Suggested Actions from the available options. You can select only one option.
Select CANCEL to close the Rich Content modal without saving any changes.
Select NEXT to proceed to the next step – Select Suggested Actions.
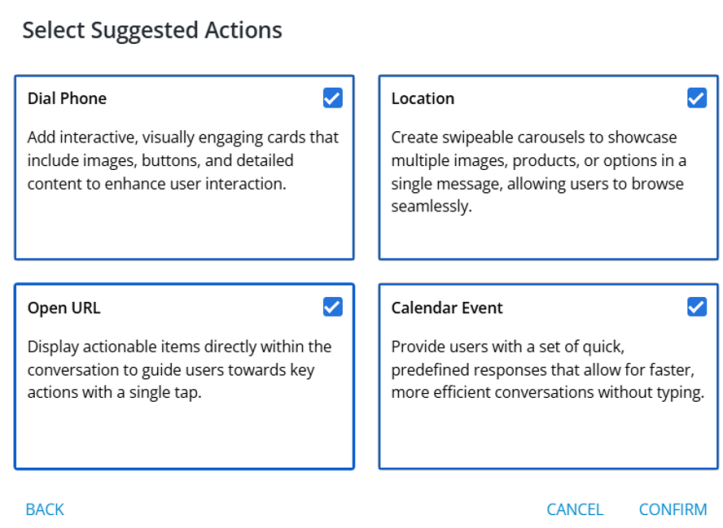
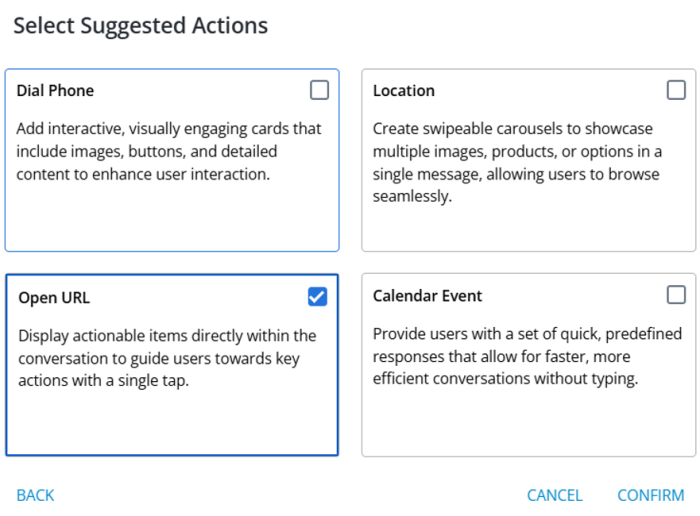
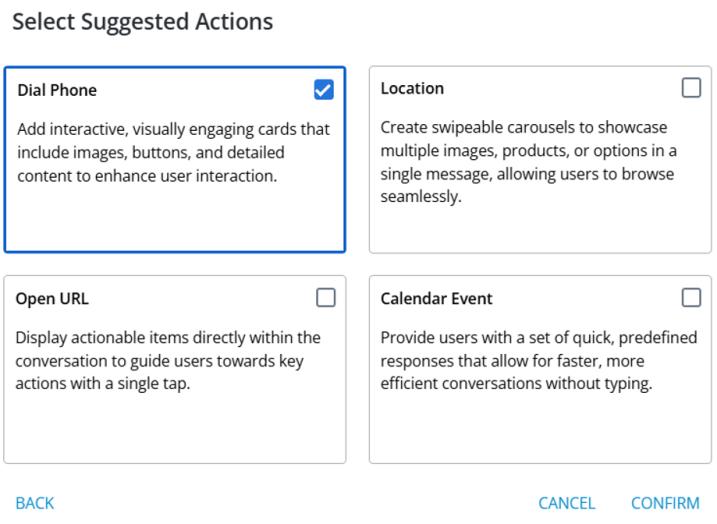
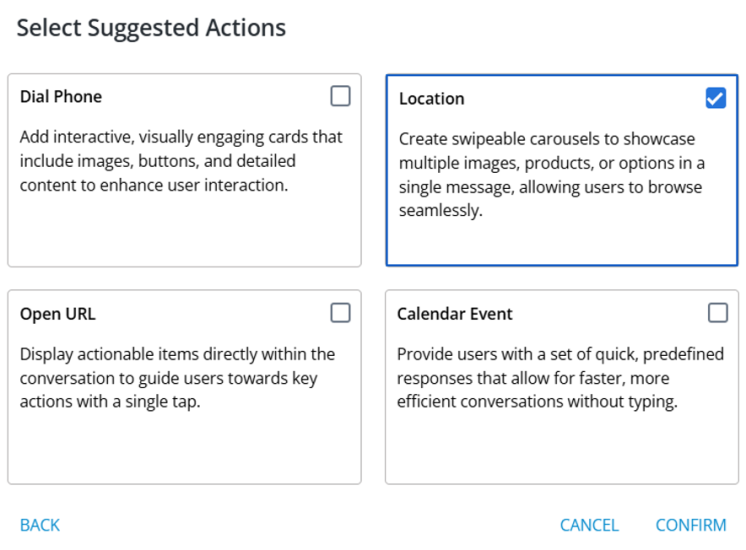
The Select Suggested Actions modal opens.
-
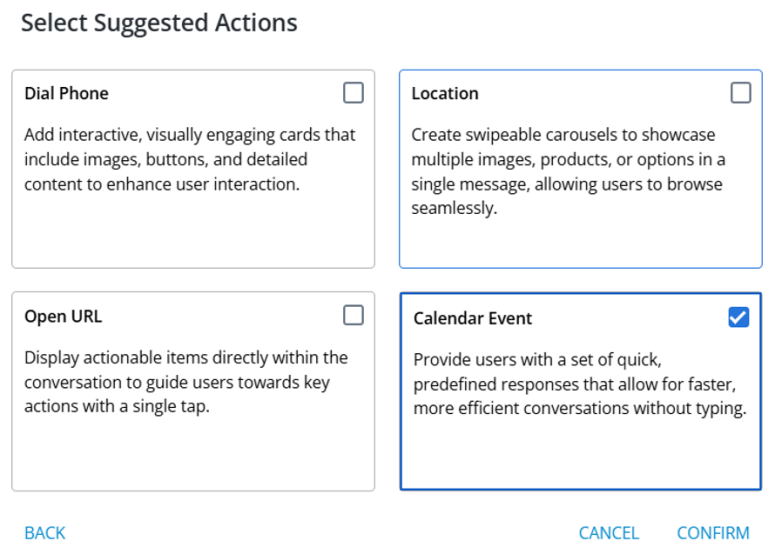
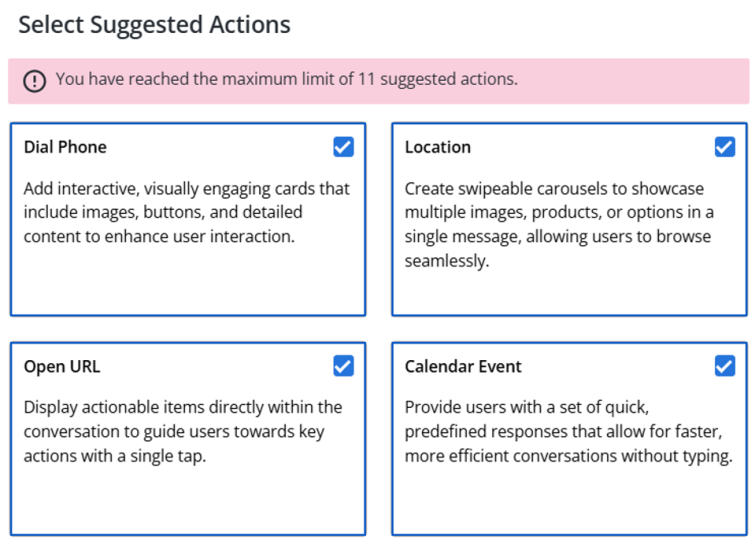
Choose the type of action you want to add from the available options (for example, Dial Phone, Location, Open URL, and Calendar Event). You can select one or more options from the list.
Select CONFIRM to confirm the selected option.
Note: The CONFIRM button is disabled when no option is selected.
Select CANCEL to close the Select Suggested Actions modal without saving any changes.
Select BACK to return to the previous modal without selecting any option.
The following suggested actions are available:
-
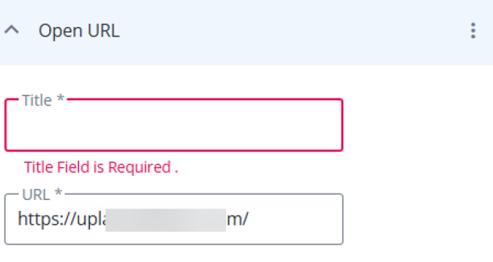
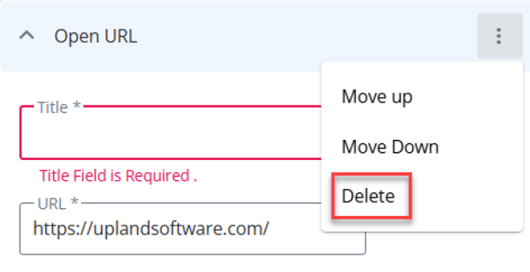
Open URL: When creating an RCS broadcast, you can select the “Open URL” that displays specific fields where you can input a URL and its related information, allowing you to include clickable URLs in your RCS messages.
Upon selecting the “Open URL” option in the Select Suggested Actions modal, a new section titled “Suggested Actions” appears in the “Conversation” stepper.
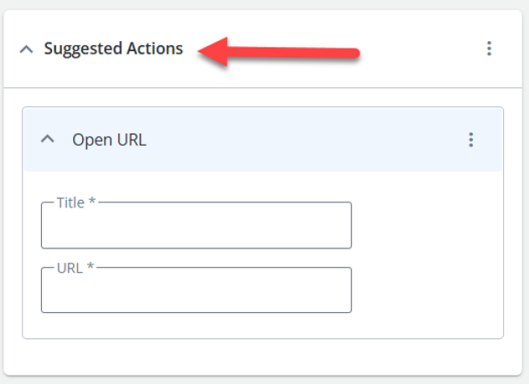
This section contains a sub-layout for Open URL, featuring fields for the Title and URL. You can input the relevant information, making it easy to include clickable links in your RCS messages.
The following fields are available:
-
Title: Enter a description or label for the URL.
-
URL: Enter the actual URL to be linked.
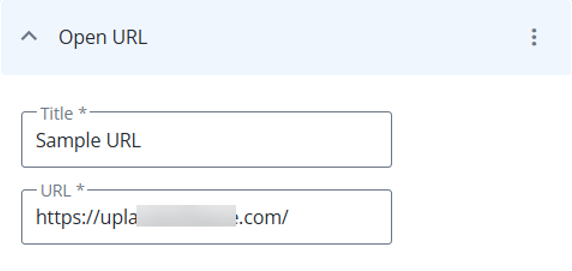
The URL field validates that the entered URL follows the correct URL format.
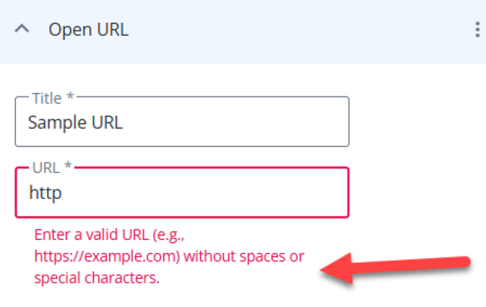
Note: The fields are highlighted with a red border to indicate that they are mandatory fields.
-
-
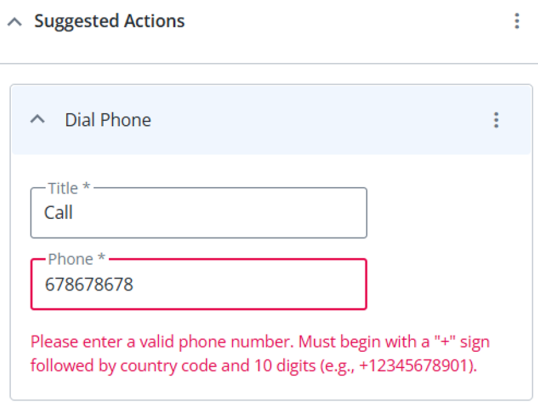
Dial Phone: Allows users to configure a title and phone number in RCS broadcasts.
Upon selecting the “Dial Phone” option in the Select Suggested Actions modal, a new section titled “Suggested Actions” appears in the “Conversation” stepper.
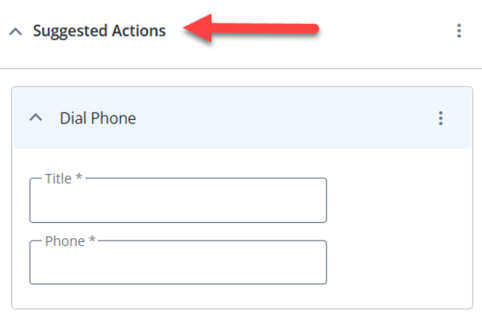
This section contains a sub-layout for Dial Phone, featuring fields for the Title and Phone. You can input the relevant information, making it easy to include “Dial Phone” action in RCS broadcasts to allow recipients to directly call a specified number.
The following fields are available:
-
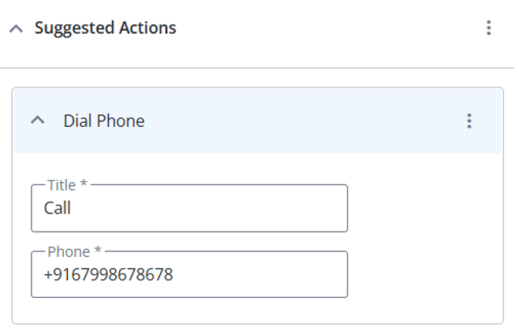
Title: Enter a title (for example, “Call”) that will be displayed in the actual message and mobile preview.
-
Phone: Enter a valid phone number.
If the Phone field is left empty or contains an invalid format, an error message is displayed.
-
-
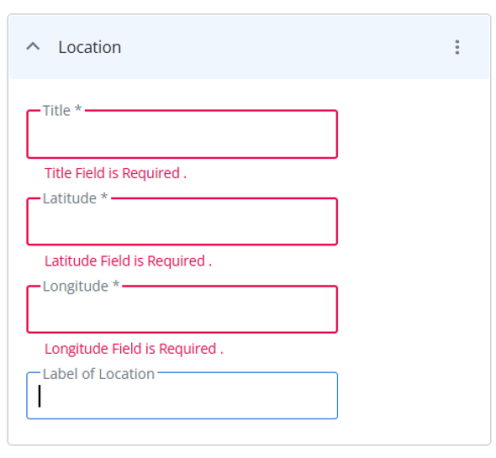
Location: Allows recipients to view and interact with specific geographical locations you provide.
Upon selecting the “Location” option in the Select Suggested Actions modal, a new section titled “Suggested Actions” appears in the “Conversation” stepper.

This section contains a sub-layout for location, featuring fields for the Title, Latitude, Longitude, and Label of Location.
The following fields are available:
-
Title: Enter a title for the location action (for example, “Location”).
-
Latitude: Enter the latitude of the location. Only numeric values are allowed.
-
Longitude: Enter the longitude of the location. Only numeric values are allowed.
-
Label of Location: Provide additional context or a label for the location.

If the mandatory fields are left blank or contains an invalid format, an error message is displayed.
-
Calendar Event: Add a calendar action to your RCS message to allow recipients to add scheduled events directly to their calendars. This helps ensure timely engagement and increases the effectiveness of time-sensitive messages.
Upon selecting the “Calendar Event” option in the Select Suggested Actions modal, a new section titled “Suggested Actions” appears in the “Conversation” stepper.
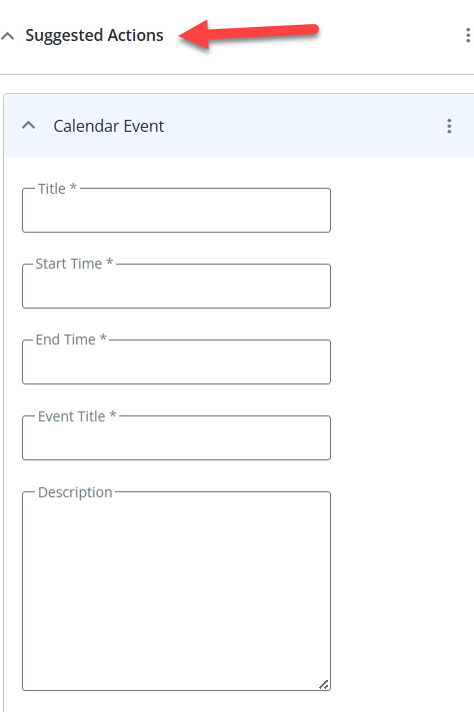
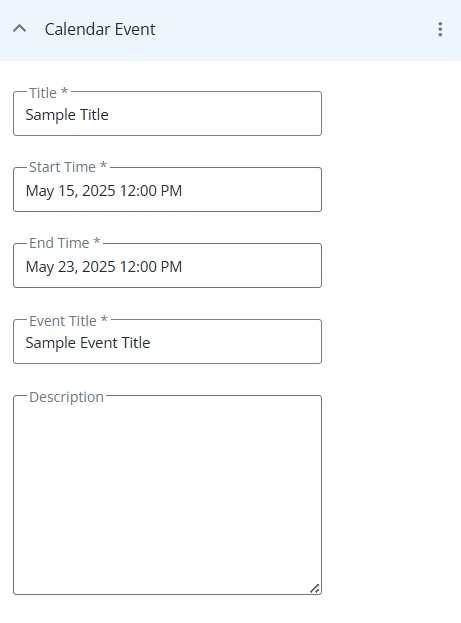
This section contains a sub-layout for calendar event, featuring fields for the Title, Start Time, End Time, Event Title, and Description.
The following fields are available:
-
Title: Enter a title for the calendar action.
-
Start Time: Pick the start date and time for the calendar event from the date picker.
-
End Time: Pick the end date and time for the calendar event from the date picker.
-
Event Title: Enter a title for the calendar event.
-
Description: Enter additional details about the calendar event.
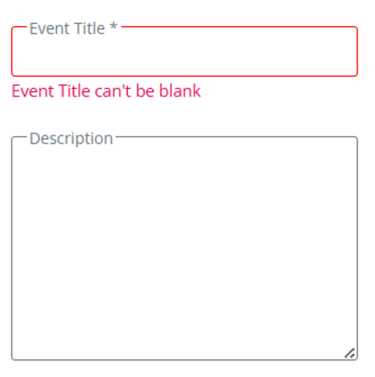
If the mandatory fields are left blank or contains an invalid format, an error message is displayed.
-
Note: The “Title” field is mandatory for all suggested actions.
These added elements appear as actionable chips in the mobile preview to ensure correct elements are included in the final RCS message before sending. When you add, move, or delete any suggested actions, the mobile message preview dynamically updates to reflect these changes.
The chip displays a default label for the following actions when no text is provided:
-
Open URL: Web
-
Dial Phone: Call
-
Location: Map
-
Calendar Event: Calendar
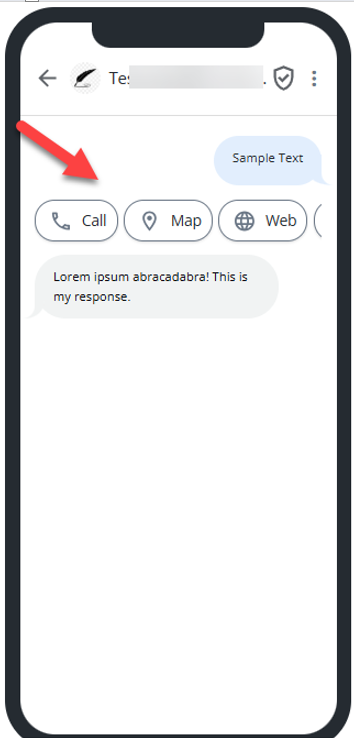
Note: These chips are visual representation of the added suggested actions and are not clickable.
Each suggested action within the “Conversation” Stepper includes a kebab menu with the following options: Move Up, Move Down, and Delete.
-
Move Up: Allows you to move the corresponding suggested action higher in the order within the suggested actions section.
-
Move Down: Allows you to move the corresponding suggested action lower in the order within the suggested actions section.
-
Delete: Allows you to remove the corresponding suggested action from the message entirely.
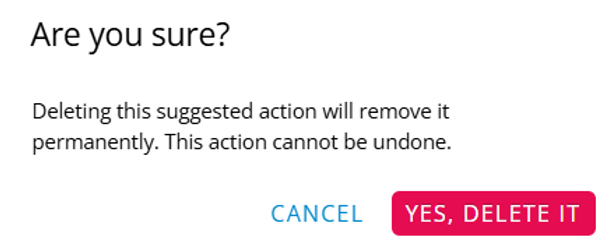
You can delete an entire suggested action layout within the “Conversation” stepper when it is no longer needed.
A confirmation message appears. Select YES, DELETE IT to confirm deleting the suggested action. Once confirmed, the suggested action will be permanently deleted. Select CANCEL to close the confirmation modal without deleting the suggested action.
You can add up to 11 suggested actions, including repeating action types. This gives you greater flexibility when configuring your RCS messages and allows for more customized and interactive experiences. If you try to add more than 11 suggested actions, a validation message appears: You have reached the maximum limit of 11 suggested actions.
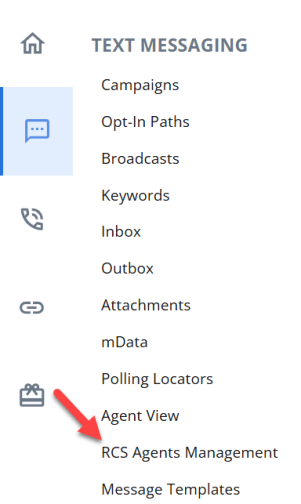
RCS Agents Management
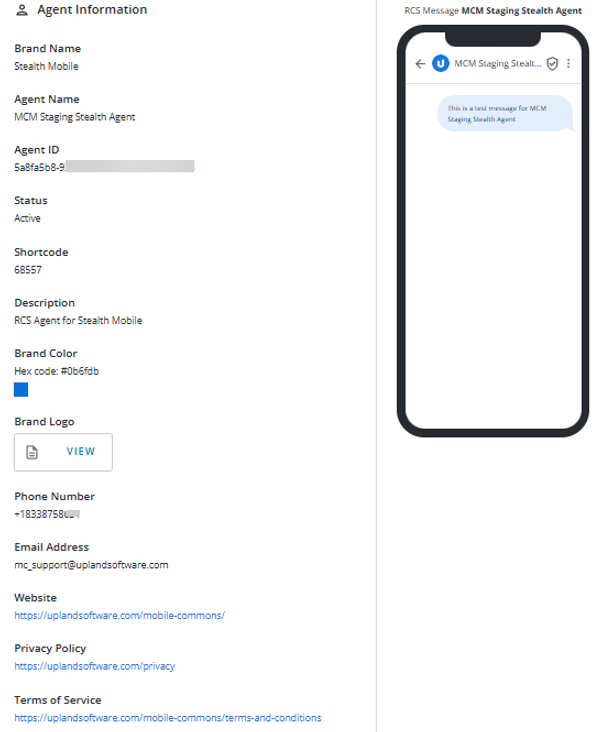
As an admin, you can view the RCS agent's appearance on a device, including all the branding and associated details. Go to Text Messaging > RCS Agents Management.
The following information is available for an agent:
-
Brand Name: The name of the brand.
-
Agent Name: The name of the agent.
-
Agent ID: The unique identifier assigned to the agent.
-
Status: The status of the agent – Active or Inactive.
-
Shortcode: Displays the shortcode associated with the agent.
-
Description: A description of the agent.
-
Brand Color: The primary color associated with the brand.
-
Hero Image: A featured image used to represent the brand.
-
Brand Logo: The logo associated with the brand.
-
Phone Number: The contact phone number for the brand.
-
Email Address: The contact email for the brand.
-
Website: The official website of the brand.
-
Privacy Policy URL: The link to the brand's privacy policy.
-
Terms of Service URL: The link to the brand's terms of service.